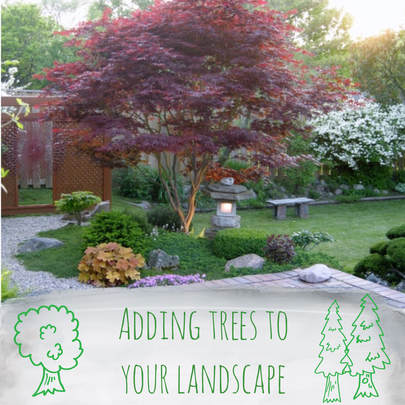
 Many people like to add trees into their landscape. Trees can add beauty and dimension to your yard, curb appeal to the front of your home, cool shade in hot summer months, and privacy. They can also add a sense of longevity to your home, as trees are often enjoyed for generations after they've been planted. For a tree to reach full maturity and last generations, it needs to be planted properly with care and have a healthy start. If you’re going to plant a tree on your property, here’s a bit of advice to help you. 1. Carefully select the area where you want to plant your tree or trees. Depending on the type of tree and how large it can get, make sure your planting spot is 15 - 20 feet away from your house, street, driveway, utility poles and power lines and any other structures. Insert a stake or flag into the ground at this spot and call Dig Safe at 811 to get approval to dig in the spot you've selected - you don't want to start digging and hit a utility line! It's the law in Massachusetts to contact Dig Safe prior to digging. (More info HERE). 2. Once you have your spot selected and approved, stand the tree upright and untie the burlap from around the base of the trunk, but not beyond the top of the root ball at this point. Use a garden trowel to carefully remove the soil from the top of the root ball. Remove just enough soil to expose where the trunk starts to spread out into the individual roots (this is the root flare). 3. Measure the height of the root ball and subtract 2 inches; then dig your planting hole to this depth. DO NOT go deeper than this measurement! A hole too deep will bury the root flare and prevent your tree from taking root and growing successfully. Dig your hole 2 – 5 times wider than the size of the root ball as well to allow roots to spread once planted. If you’re shoveling through grass, discard any removed grass and avoid using it to back-fill your hole. 4. Accurately measure the depth of your hole and once you reach the appropriate depth, scrape the bottom of this hole so that it's flat. You can sprinkle some superphosphate around this flat bottom of your hole which will help promote healthy roots (refer to the packaging for how much to use for your size/type of tree). 5. Carefully carry or roll your tree into the hole. Take a step back and view your tree as another person slowly rotates it. Ensure that the trunk of the tree is straight and look for the nicest side of the tree to face in the direction where it can be seen most. Carefully remove the wire, twine and/or burlap from the root ball. If some burlap is hard to reach at the bottom of the root ball, you can leave it there. Loosen the soil around the root ball to expose the many tiny roots. 6. Add superphosphate and fertilizer onto the pile of native soil you shoveled out (be sure to use the amounts recommended for your size and type of tree). Mix up the soil, then start backfilling your hole and avoid burying the root flare. Once the hole is full, use the blade of your shovel to create a 4-8-inch curb around the tree, making somewhat of a crater that your tree is in. Use a garden hose to fill this crater with water. As the water is absorbed into the soil, push in your curbing to fill the crater and smooth out the soil. 7. Spread 3 inches of bark mulch over the exposed dirt around the tree, but keep it away from the trunk of the tree (this could retain excessive moisture and encourage rot). Water the tree every day for at least six weeks. Good luck with your tree planting! If you'd like assistance in selecting or planting trees on your property, feel free to call us at Gardenin' Angels for professional help.
3 Comments
|
Archives
February 2024
AuthorRodrigo Dos Anjos Categories
All
|
Gardenin' Angels, Landscape Management & Construction
A preferred landscaper, serving Southeastern Massachusetts
11 Renker Drive, Easton, MA 02375
774-284-1171
[email protected]
Privacy Policy • Terms of Use

 RSS Feed